
Signs you need this
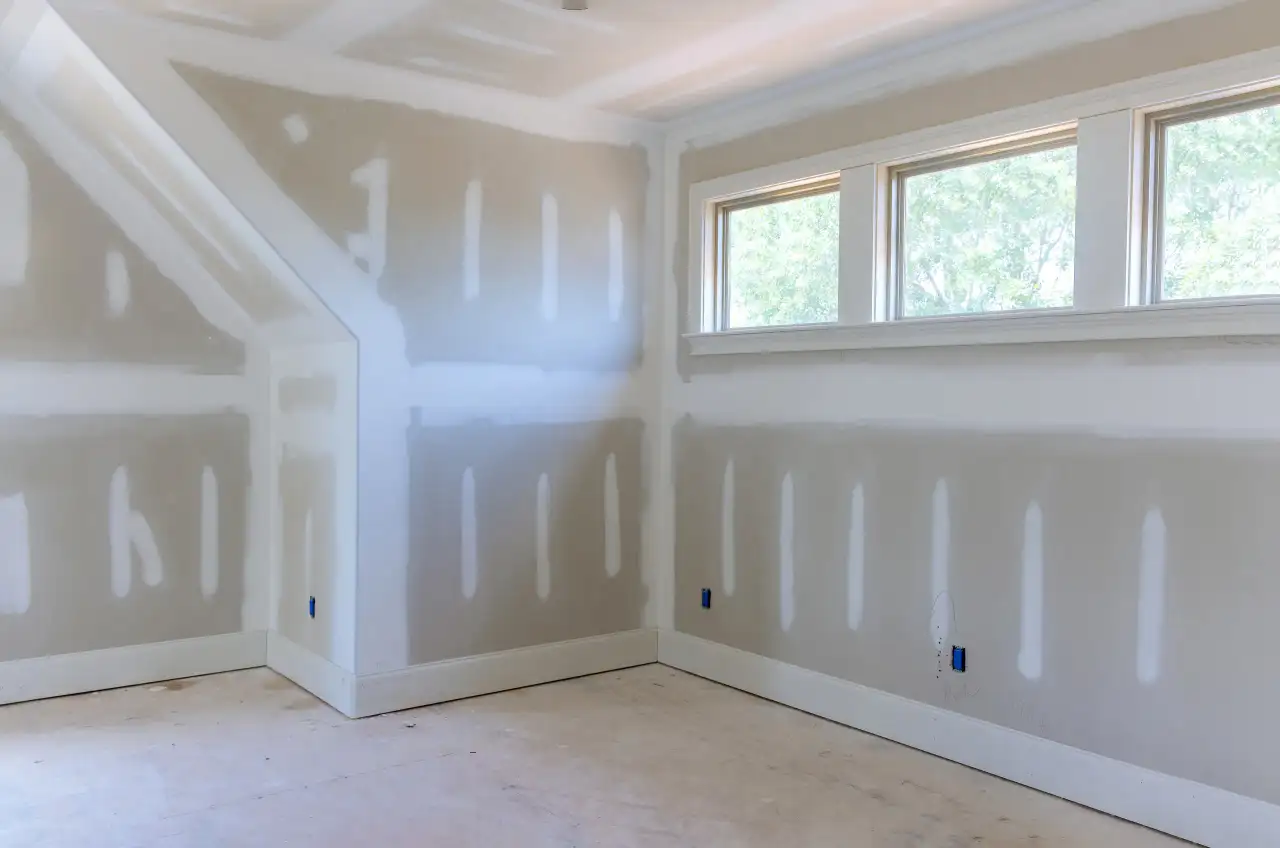
- • Drywall is hung but raw — seams, screw heads, and corners still have to disappear before paint
- • A general contractor needs a dependable finishing sub who holds the schedule on new construction
- • A homeowner hung board in a basement, addition, or attic and wants a professional finish over it
- • Visible joints and fastener dimples that would telegraph through the first coat of paint
- • A project where the finish level actually matters — Level 4 for most rooms or Level 5 under critical light
Drywall Taping and Finishing in Hartford
Hanging drywall is the loud part of the job; finishing it is the part that decides how the room actually looks. Taping and finishing, tape then mud then sand and repeat, is where raw board with its grid of seams and screw heads becomes a smooth, continuous surface that paint can lie flat on. It is also the least forgiving stage, because every shortcut shows up later under the worst possible spotlight: the seam that telegraphs through the first coat of paint, the fastener spots that dimple across a wall in afternoon light, the butt joint that reads as a ridge. We do finishing as a dedicated scope for the general contractors and developers running Hartford’s new construction, additions, and downtown office-to-apartment conversions, and for homeowners who hung their own board in a basement or addition and want it finished by someone who does it every day.
Finish levels, and choosing the right one
The industry defines finish quality on the GA-216 scale from Level 0 to Level 5, and knowing which one your project needs is half the value. Level 4, tape embedded, three coats built over the joints, and fasteners covered and feathered, is the standard for the great majority of painted walls and looks excellent under matte and eggshell paint in normal light. It is also the right call for most of the volume finishing on conversion floors and unit partitions, where a straight, consistent Level 4 across a whole building is what the spec calls for. Level 5 goes further, adding a skim coat over the entire surface so the wall reflects light perfectly evenly, and it earns its cost under critical lighting, high-sheen finishes, or the deep dramatic colors that would otherwise reveal the difference between a finished seam and bare board. That is the finish worth paying for on a Farmington Valley great room with a wall of west-facing windows, not on a basement rec room. Level 3 is the lighter finish for walls that will be textured, since the texture hides what Level 3 leaves. We match the level to your paint and lighting and tell you honestly when Level 4 is all you need rather than defaulting everyone up.
Why it’s built in coats, and why that’s the schedule
A good finish is a patience game. Joint compound shrinks as it dries, so it goes on in successive thin coats, a tape coat, then fill coats each feathered wider than the last, with real dry time between each, and it is sanded smooth as it builds. Rushing wet coats on top of each other is how you get cracking, shrinkage, and seams that reappear months later. That dry time is the timeline, and for a builder on a schedule the value is not speed for its own sake but predictability: a finishing sub who plans around the coats, shows up when they say, and delivers the same clean result on unit after unit. That predictability is exactly what the office-to-apartment conversion work demands, where a floor of near-identical units has to be taped, coated, and sanded on a rhythm the GC can count on. For DIY-hung board, we check the hang first and correct the proud fasteners and loose joints that would otherwise telegraph through, then finish it to a result that does not look homemade.
Finishing into Hartford’s older walls
A lot of finishing in this metro is not fresh new construction, it is new board meeting an old wall. In the pre-war neighborhoods, West End, Frog Hollow, Asylum Hill, Parkville, and the historic stock in Wethersfield, a renovation often leaves a patch of new drywall butting into original plaster, or a wall that was finished in veneer plaster over blueboard rather than taped drywall. The finish has to bridge that transition. We feather the compound out across the joint between old and new so the plane stays flat, and where the surrounding wall carries a veneer-plaster finish we match it so the repair reads as one surface instead of an obvious patch. Getting that transition right is what separates a finish that disappears from one that frames the repair for anyone standing in the room.
The proof is in the light
The final test of a finish is not how it looks straight on, it is how it looks when light rakes across it. We check the surface under raking light before calling it done, touch out anything that would flash, and leave it prime-ready, priming it ourselves or handing off for the painter to prime per the project. Done right, the painted wall reads as one flat plane and you would never know there were a dozen seams and a hundred screws underneath. That is the entire job: make all the work disappear.
Materials & standards
Products & materials we use
- USG, National Gypsum, and CertainTeed joint, setting, and topping compounds
- Paper tape, fiberglass mesh tape, and corner bead
- Level 5 primer-surfacer and high-build primer
- Blueboard and veneer plaster (older Hartford renovation context)
Standards & codes we work to
- GA-216 (finish levels 0 through 5)
- CT DCP Home Improvement Contractor (HIC) registration
What the terms mean
- Tape coat, fill coat, and skim coat
- Feathering; butt joints versus tapered edges
- Setting compound versus topping compound
- Raking light and flashing
- Level 3 (pre-texture), Level 4, and Level 5
Options & variants
| Option | When it applies | Cost |
|---|---|---|
| Level 4 finish | Standard for most painted walls and ceilings | Baseline |
| Level 5 finish | Critical lighting, high-sheen or dark paint | Higher — full-surface skim |
| New-construction finishing | Whole-house, addition, or conversion-floor tape-out for builders | Scaled by area |
| DIY-hang finishing | Finishing a homeowner's hung board, may need corrections first | Mid; corrections add |
| Level 3 (pre-texture) | Walls that will be textured, since the texture hides Level 3 | Lower than Level 4 |
| Repair-and-finish of poor prior work | Fixing failed seams and joints left by another crew | Mid to higher |
What affects cost
- • Area — the total square footage of board to finish
- • Finish level — a Level 5 full-surface skim adds significant labor over a Level 4
- • Condition of the hang — a well-hung job finishes faster and a poor DIY hang needs corrections first
- • Ceilings and height — overhead and high work slow finishing
- • Layout — angles, soffits, vaults, and a lot of corners add time
- • Schedule — builder timelines and multi-unit conversion or turnover work
- • Dry-time logistics — coats need time to cure and a tight schedule can add mobilizations
Price ranges
Low end
$1,000–$2,000
Small area or single room, Level 4, well-hung board
Typical
$2,000–$3,500
Addition, finished basement, or multi-room tape-out, Level 4, prime-ready
High end
$3,500–$4,000+
Whole-house or conversion-floor volume, Level 5, high or complex ceilings, corrections to poor hanging
What to expect
- 1
Review the hang
We check the hung board for fastener depth, joint tightness, and any problems that would compromise the finish, and we confirm the finish level the project calls for.
- 2
Tape coat
We embed tape in all seams, paper tape bedded in compound for strength and mesh where it is appropriate, tape and bead the inside and outside corners, and cover the fasteners.
- 3
Fill coats
We build successive coats of joint compound over the seams and corners, each feathered wider than the last, with real dry time between coats.
- 4
Sand
We sand smooth between and after coats to a consistent flat surface, with the dust controlled.
- 5
Finish level
For Level 5 we skim the entire surface, not just the joints and fasteners, so the wall reflects light evenly. For Level 4 we finish the joints, corners, and fasteners to the standard.
- 6
Final check and prime-ready
We check the surface under raking light, touch out anything that would flash, and leave it prime-ready. We can prime it or hand off for the painter to prime, per the project.
When this isn’t the right call
- If the board isn't hung yet → that's the install scope. See: Drywall Installation & Hanging.
- If it's a small hole or patch → see: Drywall Repair & Patching.
- If you want the smoothest possible wall → see: Skim Coat & Level 5 Finish.
- If it's a commercial steel-stud tenant fit-out → see: Metal Stud Framing & Commercial Drywall.
- If the wall will be textured → a Level 3 pre-texture finish may be all it needs, and we'll advise.
Frequently asked questions
What is the difference between the finish levels? +
GA-216 defines finish levels 0 through 5. Level 4, taped seams with three coats over the joints and the fasteners covered, is the standard for most painted walls and looks excellent under matte and eggshell paint in normal light. Level 5 adds a skim coat over the entire surface for perfectly uniform light reflection, which matters under critical lighting or high-sheen and dark paint. Level 3 is for walls that will be textured, since the texture hides it. We match the level to your paint and lighting and tell you when Level 4 is genuinely enough.
I hung my own drywall. Can you finish it? +
Yes, finishing DIY-hung board is common, especially on basements and additions around the metro. We check the hang first. If fasteners are proud, seams are loose, or butt joints were not planned for, we correct what would otherwise telegraph through the finish, then tape and finish it to a clean result.
Are you reliable for builders and GCs on a schedule? +
Yes, new-construction and addition tape-outs for builders and general contractors are core work, along with the demising-wall and unit-partition finishing on Hartford's office-to-apartment conversions. We finish on the project schedule, coordinate around dry time, and deliver a consistent finish unit after unit, which is what a builder actually needs from a finishing sub.
Why does finishing take several days? +
Because joint compound has to dry between coats. A proper finish is built in multiple thin coats, each feathered wider and sanded, and rushing wet coats on top of each other produces cracking and shrinkage. The dry time is the schedule, and we plan around it.
Will the seams show after paint? +
Not when the surface is finished correctly to the right level and primed. Seams show when the coats are too few, too narrow, or left unprimed. We feather the joints wide, check the surface under raking light, and leave it prime-ready so the painted wall reads flat.
Can you finish over old plaster or a plaster patch in an older Hartford home? +
Yes. In the pre-war housing around West End, Frog Hollow, Asylum Hill, and Wethersfield, we often blend new drywall or a plaster patch into existing walls. We feather the joint compound out over the transition and, where a wall was finished in veneer plaster over blueboard, we match the finish so the repaired area disappears into the surrounding surface.
Can you fix a finish another crew botched? +
Yes. Failed seams, visible joints, and poor sanding can be reworked and refinished. We assess how much is salvageable versus what needs re-coating and give you an honest scope.